Small Hallway Storage Solutions for Period Homes
Practical ways to fit slim consoles, hooks, benches and alcove cupboards into narrow period hallways, with...


Rental kitchens tend to arrive with the same handful of compromises: a worktop that has seen better days, cupboard doors in a colour you would never have chosen, and one overhead light bright enough for minor surgery. None of it is yours to rip out, which is why so many rented kitchens stay unloved for years. The encouraging part is that the changes with the biggest effect are also the easiest to undo. A few evenings, a sensible budget and a willingness to measure twice will get you a room that feels like yours — and most of it can come with you when you move.
Start with your tenancy agreement. Most standard agreements allow small, reversible additions but ask you to return the property to how you found it, so anything glued, screwed or wired in needs a moment's thought. If you are unsure, send your landlord a short email describing what you plan to do — a written yes is worth having, and it protects your deposit.
Take photos of every surface before you start, including the inside of cupboards, and keep the original fittings in a labelled bag taped inside a cupboard door. Two rules are worth treating as fixed: do not touch the hardwired lighting circuit, and do not put anything loose or flammable close to the hob. If you want a new ceiling light or extra sockets, that is a job for the landlord and a qualified electrician.
The wall behind the worktop is usually the most tired surface in the room and the easiest to disguise. Removable splashback options, sometimes called backsplashes, now include peel-and-stick tiles with printed grout lines, self-adhesive panels made for kitchen use, and clear acrylic or glass-effect sheets cut to the width you need. A metal-look panel fixed with clips works well behind a hob, where heat and steam make sticky films a poor idea.
Whatever you choose, the preparation matters more than the product:
When it is time to leave, warm the adhesive gently with a hairdryer and peel slowly at a low angle rather than pulling straight out.
Few changes deliver as much for so little effort as replacing cupboard and drawer handles. Count them, measure the distance between the fixing holes in millimetres, and buy handles with the same spacing so you can reuse the existing holes without drilling. Single-hole knobs suit doors where the spacing is awkward or inconsistent.
Colour does the heavy lifting here. On white or pale grey doors, matte black or brushed brass reads modern; polished chrome keeps things classic. Mixing metals in one kitchen rarely works, so pick one finish and repeat it on the drawer pulls, the tap and the bin. Store the old handles and their screws in a sandwich bag with the room name written on it — future you will be grateful.
One bright ceiling light flattens a kitchen. The fix is layering, and all of it can be plug-in. A warm-white LED strip under the wall units lights the worktop where you actually chop; route the cable down the corner of a cupboard with adhesive clips or a slim trunking strip in a matching colour. Rechargeable puck lights work inside cupboards with no socket nearby, and a slim plug-in wall light or clip-on lamp adds a softer pool of light in a corner.
If your fitting takes a standard bulb, changing cool white bulbs for warm white ones transforms the mood for a few pounds. Smart bulbs give you dimming from the existing switch without touching the wiring. Keep extension leads tidy and never run a cable across the hob or over a sink.
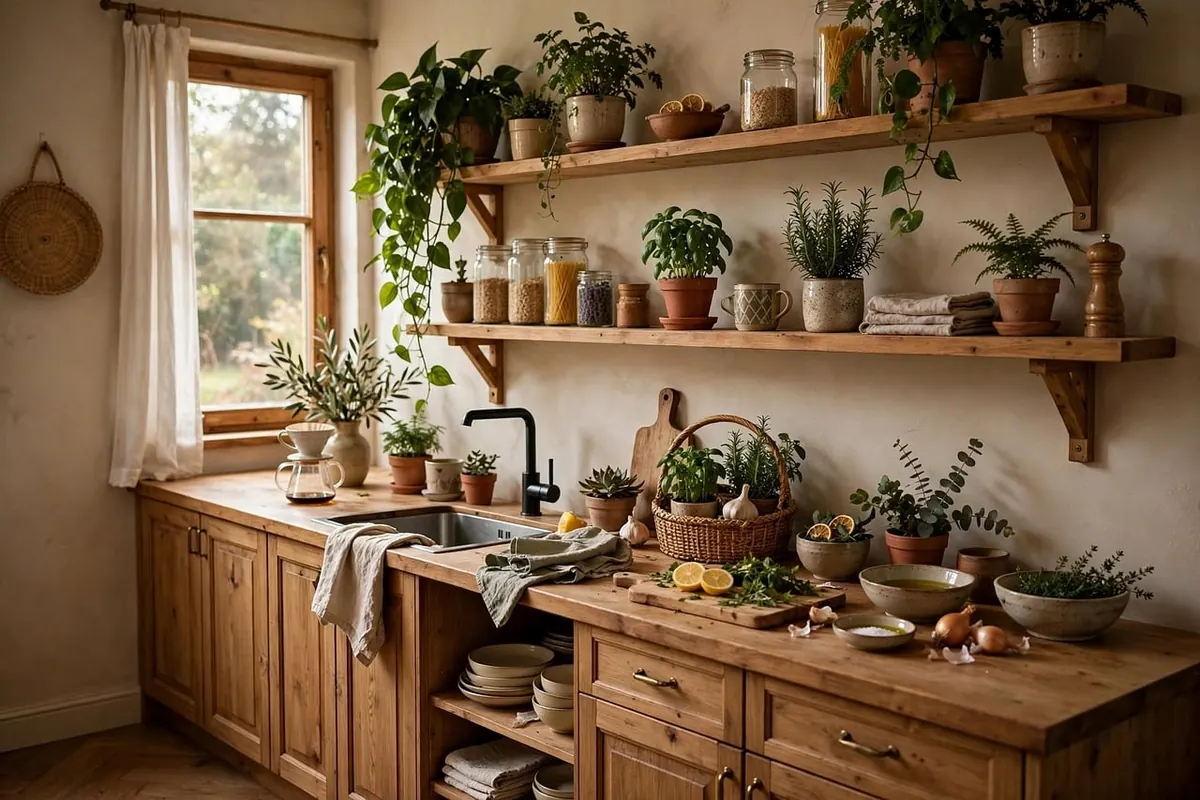
You do not need a drill to get things off the worktop. Tension pole shelving that grips between the worktop and the underside of the wall units is the classic rental solution and comes in white, black and chrome. Freestanding options work just as well: a slim trolley beside the fridge, a narrow bookcase at the end of a run of units, or a leaning ladder shelf against a bare wall.
Adhesive hooks and magnetic racks are useful for light items — tea towels, utensils, spices in small tins — but respect the weight limit printed on the pack. Heavy jars belong on a shelf, not a hook. Style open shelving with restraint: matching jars, the plates you use daily, one plant. Leaving a third of each shelf empty stops it looking like overflow storage.
Once the big surfaces are sorted, group your everyday things rather than scattering them. A large wooden board, a tray holding oil, salt and pepper, and one consistent colour across the kettle, utensil pot and bin will do more than another clever gadget. A washable cotton runner in front of the sink softens hard flooring and hides a scuffed vinyl. A tension rod and a fabric panel can cover a dated blind without any fixings. Herbs on the windowsill add colour and earn their space by being useful. Choose two or three colours and repeat them — restraint is what makes a rental kitchen look deliberate rather than improvised.
Set a reminder for the week before you leave and work through this list:
Do that, and you keep the deposit, hand back a kitchen in the condition you found it, and take the good ideas to your next place. A rental does not have to look like one — it just has to go back the way it came.
Photo: yjyoun / Pixabay
Practical ways to fit slim consoles, hooks, benches and alcove cupboards into narrow period hallways, with...
A practical buying checklist for vintage rugs, covering condition, size, colour, cleaning, underlay and...
A practical guide to choosing and watering houseplants that cope with dim British rooms, plus how to...